Starting yoga doesn't require perfect flexibility, expensive gear, or a certain body type. What you do need is a willingness to move mindfully, breathe with intention, and give yourself permission to learn at your own pace. Whether you're drawn to yoga for stress relief, strength building, or simply curiosity, this guide walks you through everything from your first pose to building a sustainable practice.
Why Start Yoga? (Real Benefits Backed by Science)
Yoga delivers measurable improvements across physical and mental health markers. A 2016 systematic review in the European Journal of Preventive Cardiology found that yoga practice reduced cardiovascular risk factors—including blood pressure, cholesterol, and body mass index—comparably to conventional exercise like brisk walking or cycling.
Beyond heart health, regular yoga practice strengthens muscles without the joint stress of high-impact activities. Poses that require you to support your body weight—like plank or downward dog—build functional strength in your core, shoulders, and legs. Balance poses stimulate proprioception, the body's spatial awareness system, which research shows can reduce fall risk in older adults by up to 30%.
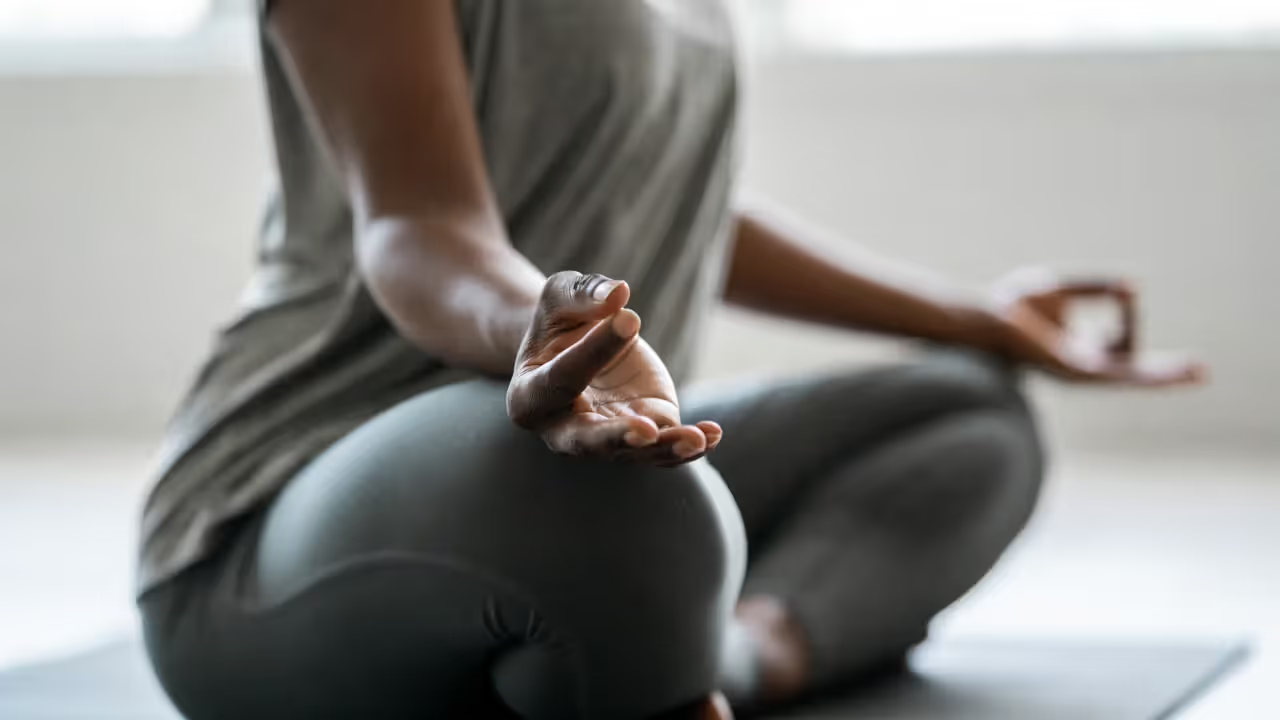
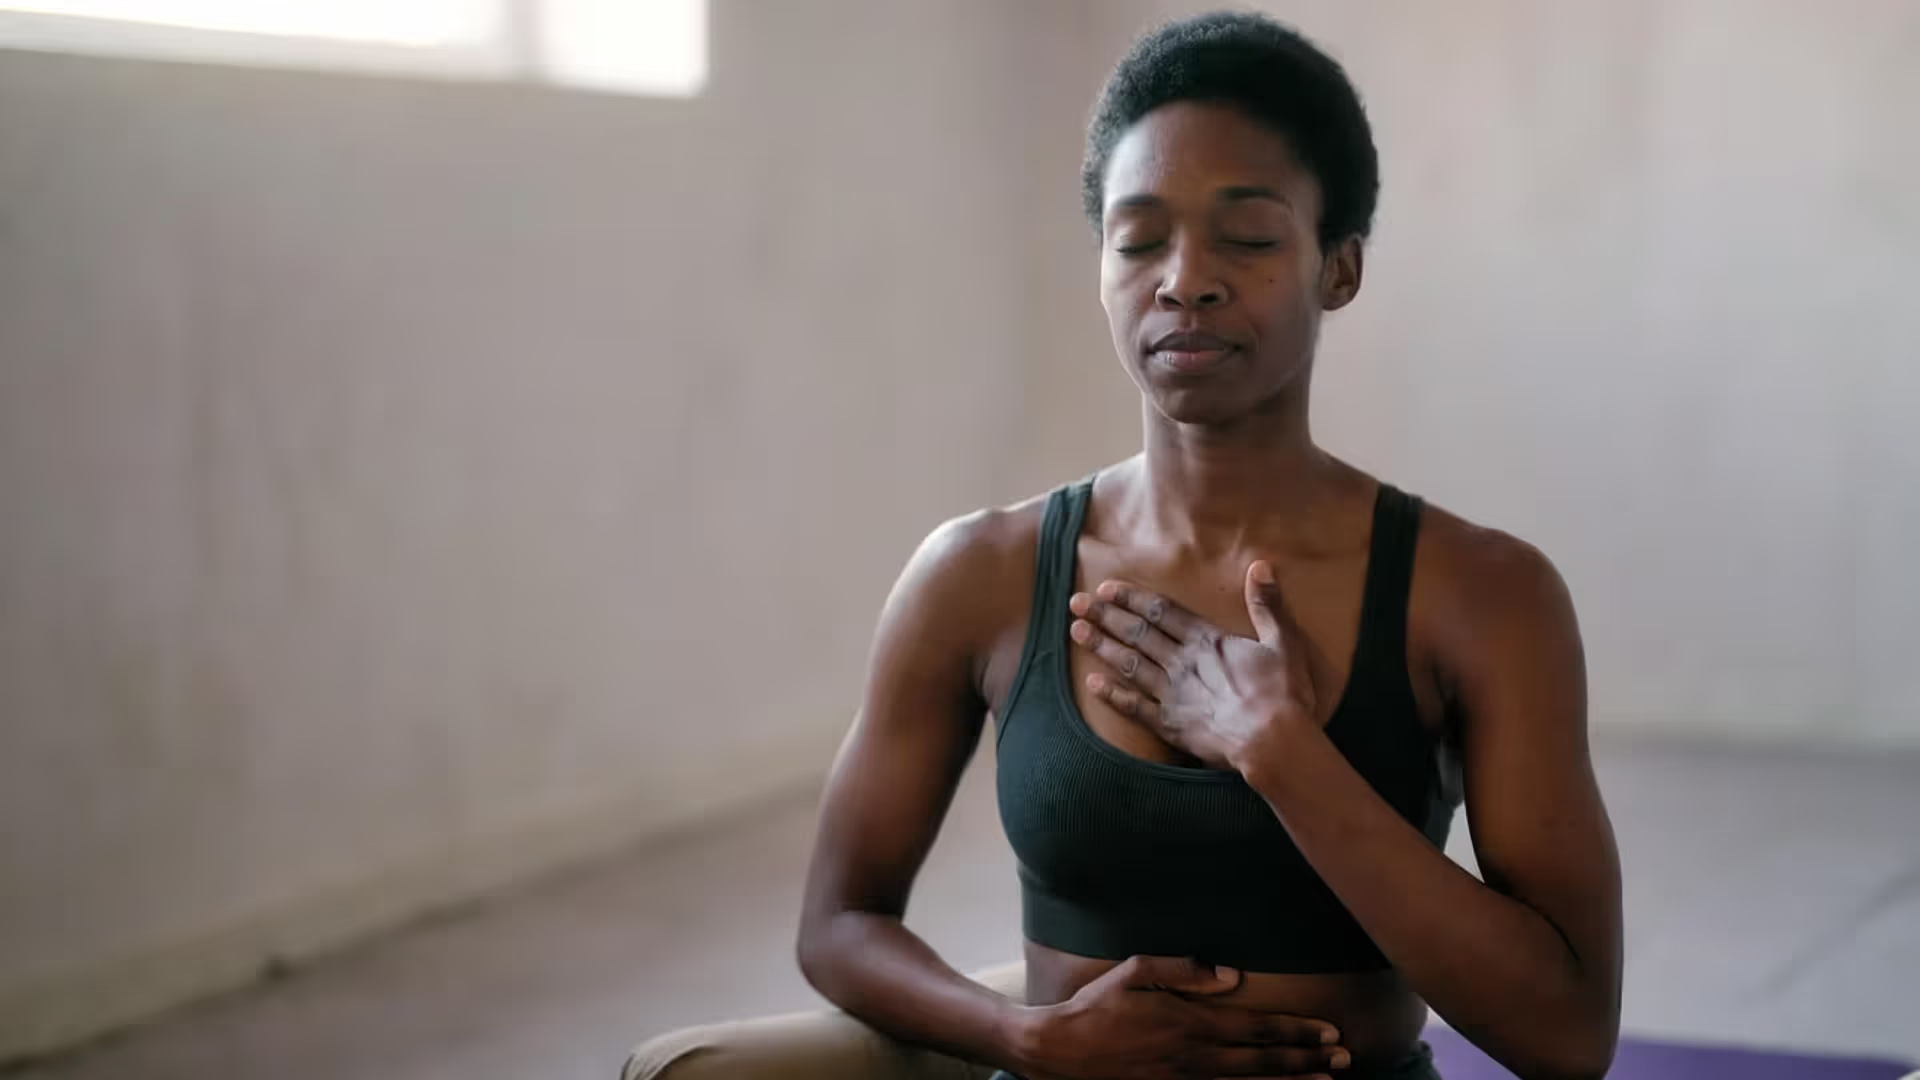
Mental health benefits are equally compelling. A 2020 meta-analysis published in Psychological Medicine examined 19 controlled trials and confirmed that yoga significantly reduces symptoms of depression and anxiety. The mechanism isn't mysterious: controlled breathing activates your parasympathetic nervous system, lowering cortisol and heart rate. When you hold a pose while breathing deeply, you're essentially training your body to stay calm under physical challenge—a skill that transfers to everyday stressors.
Set realistic expectations, though. You won't achieve pretzel-like flexibility in a month, and some days will feel harder than others. Progress in yoga is non-linear. One week you might nail a balance pose; the next week you'll wobble. That's normal. The real benefit accumulates through consistency, not perfection.
Author: Amanda Reeds;
Source: thelifelongadventures.com
What You Need Before Your First Yoga Class
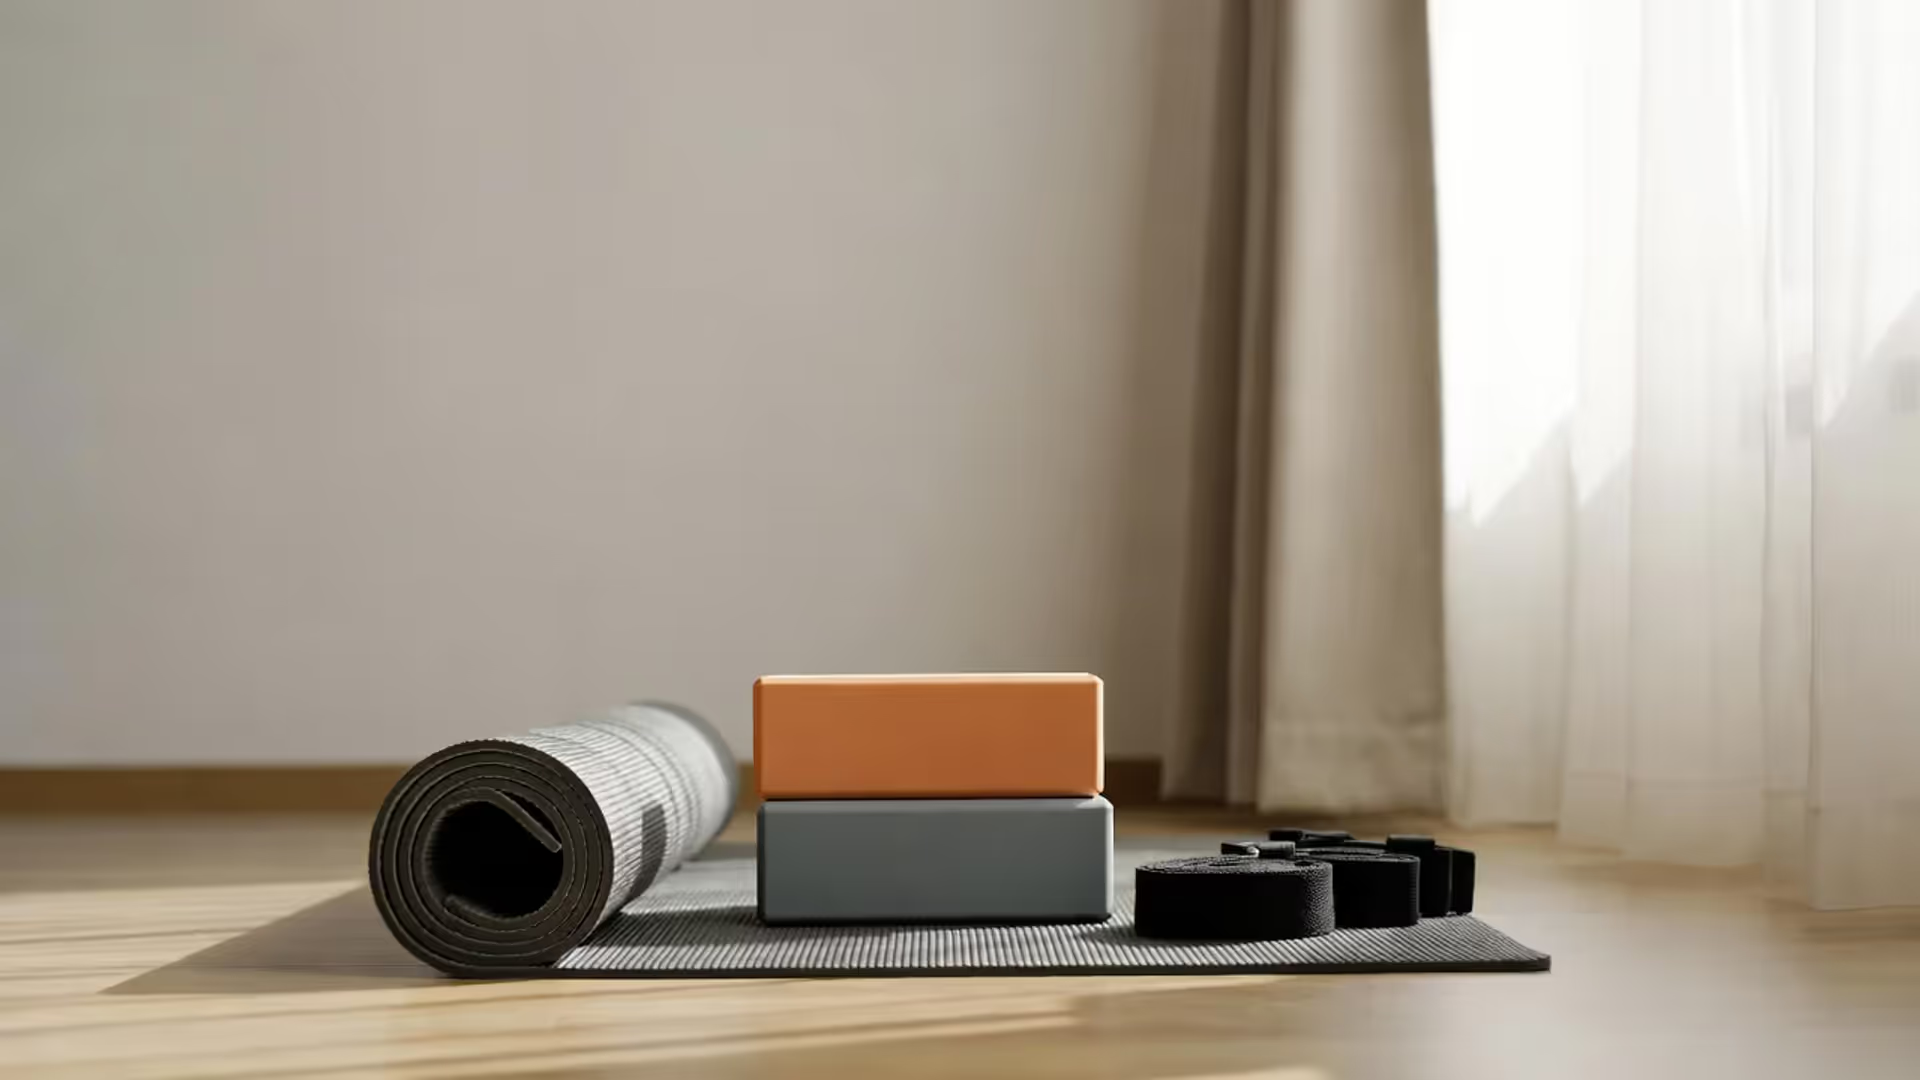
Mat matters more than you think. A quality mat provides cushioning and grip. Budget mats (under $15) often compress quickly and become slippery with sweat. Mid-range options ($30–$50) from brands like Manduka or Jade offer better durability and traction. If you're practicing on hardwood or tile, a thicker mat (5–6mm) protects your knees and wrists during floor work.
Clothing should allow full range of motion. Avoid baggy t-shirts that slide over your face in downward dog. Fitted (not tight) tops and stretchy leggings or shorts work best. Skip pants with metal buttons or zippers that dig into your stomach during twists. Cotton is fine for gentle classes; moisture-wicking fabrics help in more vigorous styles.
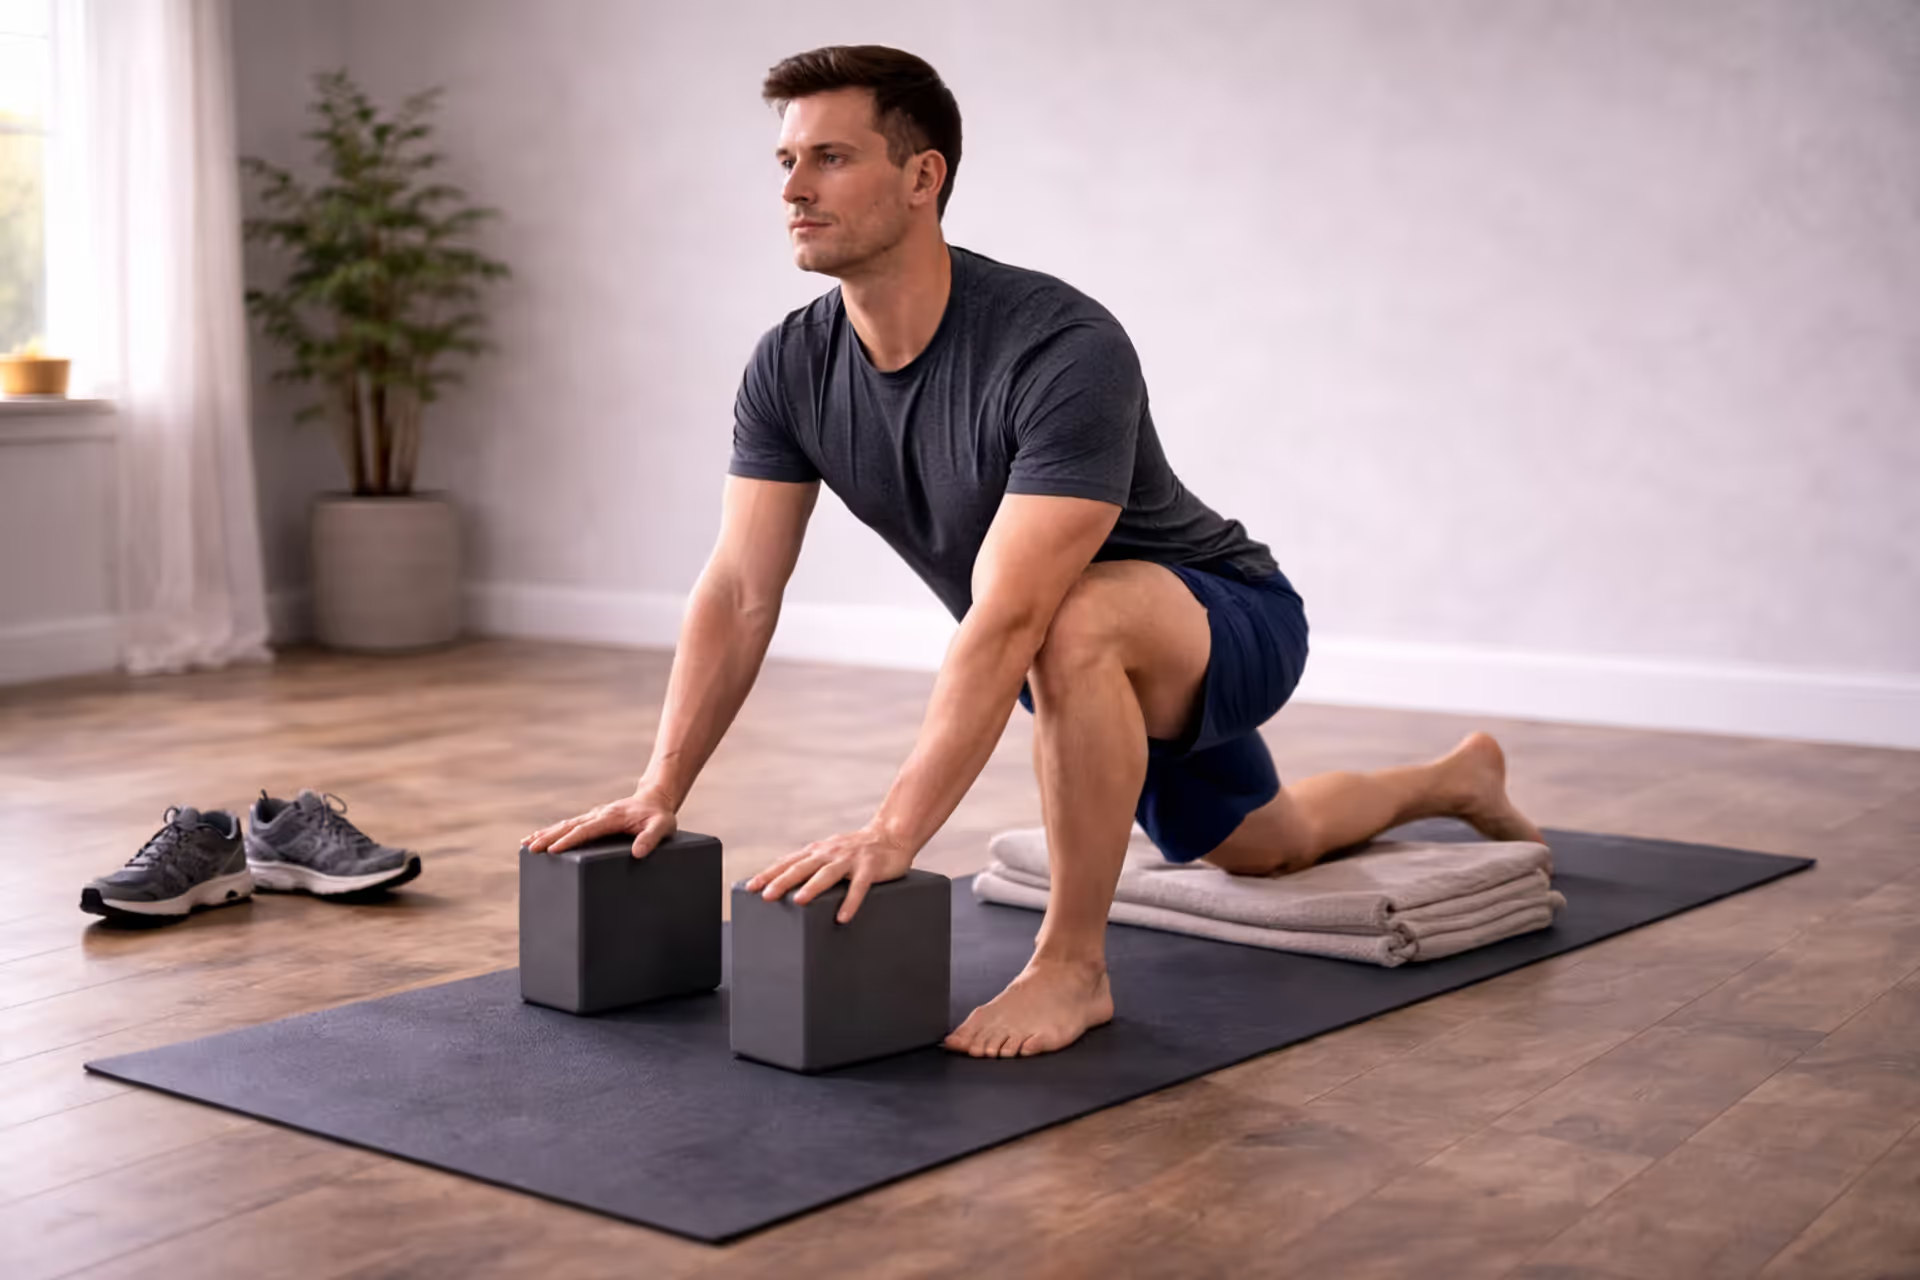
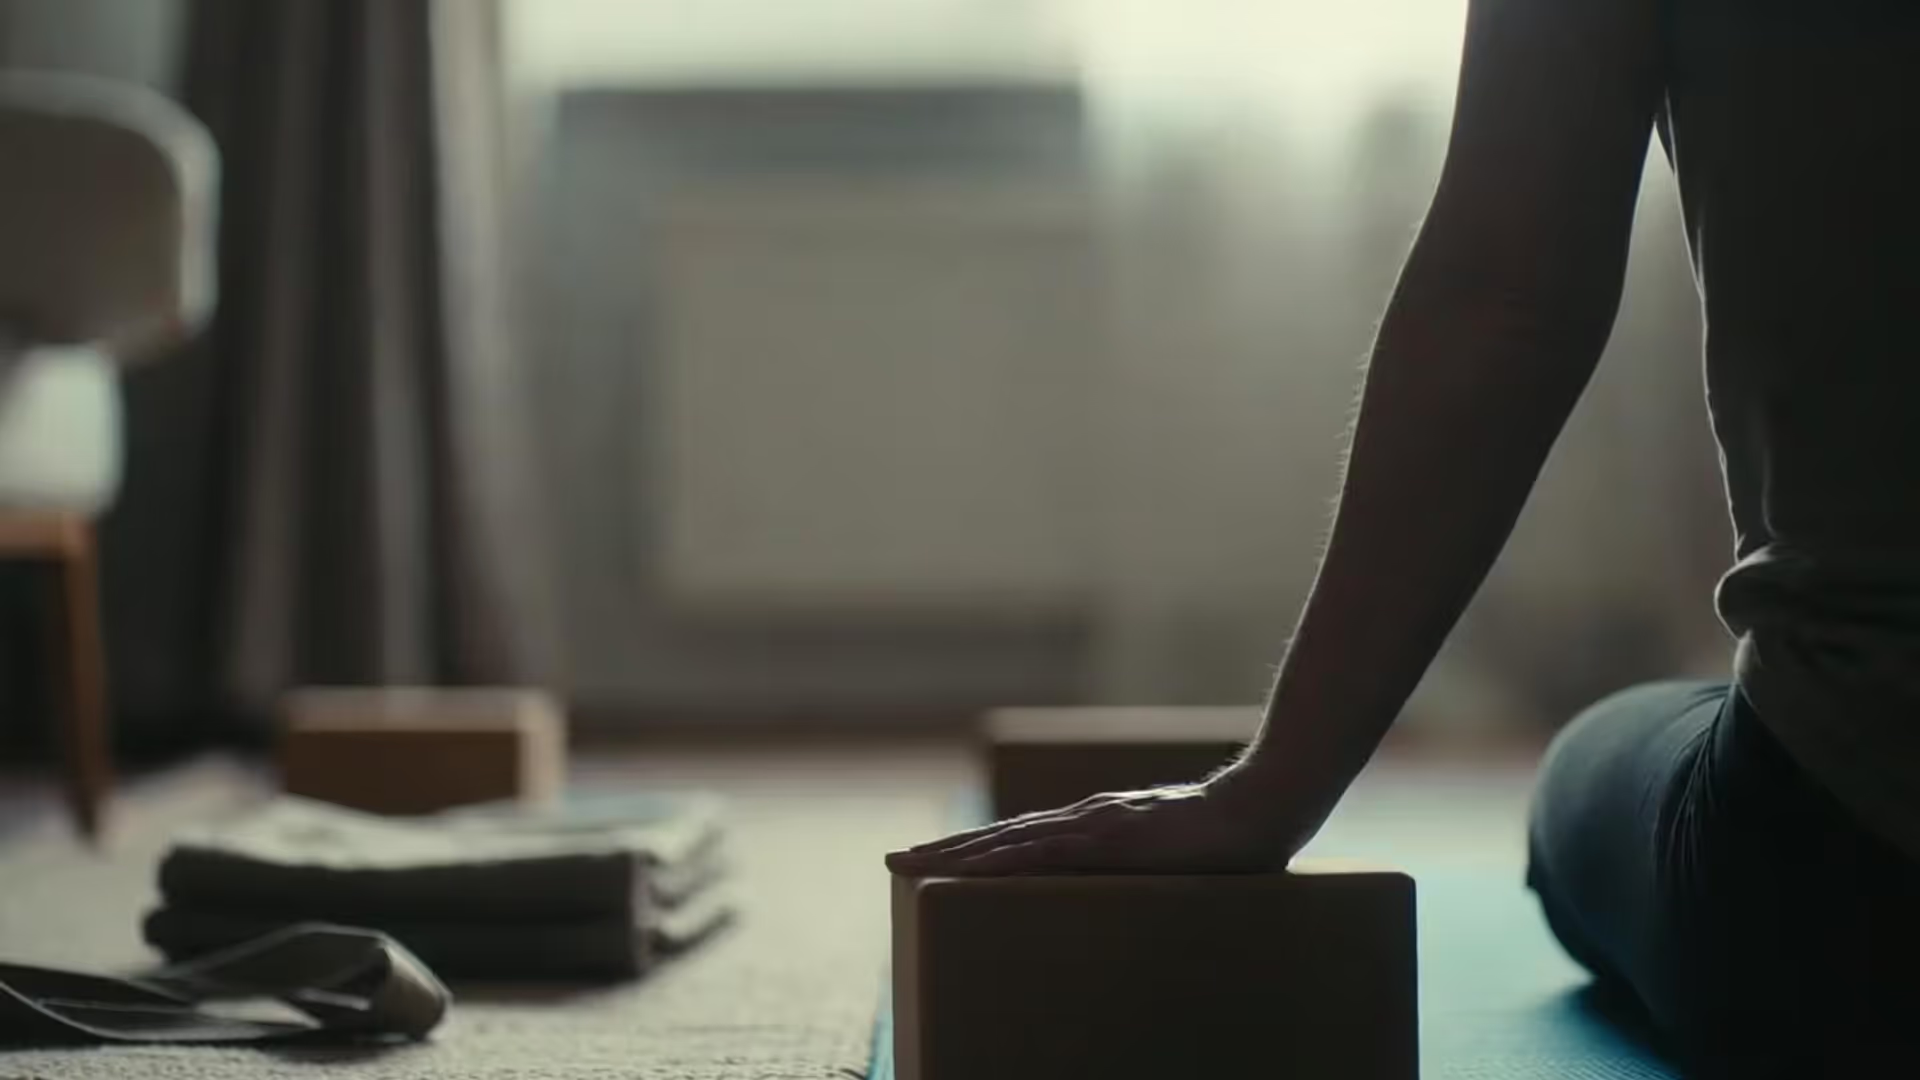
Props enhance accessibility, not weakness. Yoga blocks (foam or cork) bring the floor closer in forward folds and provide support in balance poses. A strap helps you reach your feet in seated stretches without rounding your spine. Bolsters and blankets make restorative poses more comfortable. Most studios provide these, but if you're practicing at home, two blocks and one strap cover 90% of beginner needs—total investment around $25.
Home versus studio: each has trade-offs. Studios offer hands-on corrections, a structured environment, and community energy. You'll pay $15–$30 per drop-in class, or $80–$150 for monthly unlimited passes. Home practice is free and flexible but requires self-discipline. You might develop poor alignment habits without feedback. A hybrid approach works well: attend studio classes weekly for guidance, then practice at home between sessions using what you learned.
Timing and environment. Practice on an empty stomach—wait at least two hours after a large meal. Choose a quiet space with enough room to extend your arms and legs in all directions (about 6 feet by 3 feet). Natural light and fresh air help, but avoid direct sunlight that overheats you. Turn off phone notifications.
10 Easy Yoga Poses Every Beginner Should Master
These foundational poses appear in nearly every yoga class. Focus on proper form over depth. Holding a shallow, well-aligned pose builds better habits than forcing yourself into an advanced position.
Standing Poses
Mountain Pose (Tadasana) Stand with feet hip-width apart, weight distributed evenly across all four corners of each foot. Engage your thighs, draw your belly gently in, and roll your shoulders back and down. Arms hang naturally at your sides. Seems simple, but this is your baseline for all standing work. Notice if you habitually shift weight to one leg or lean forward onto your toes.
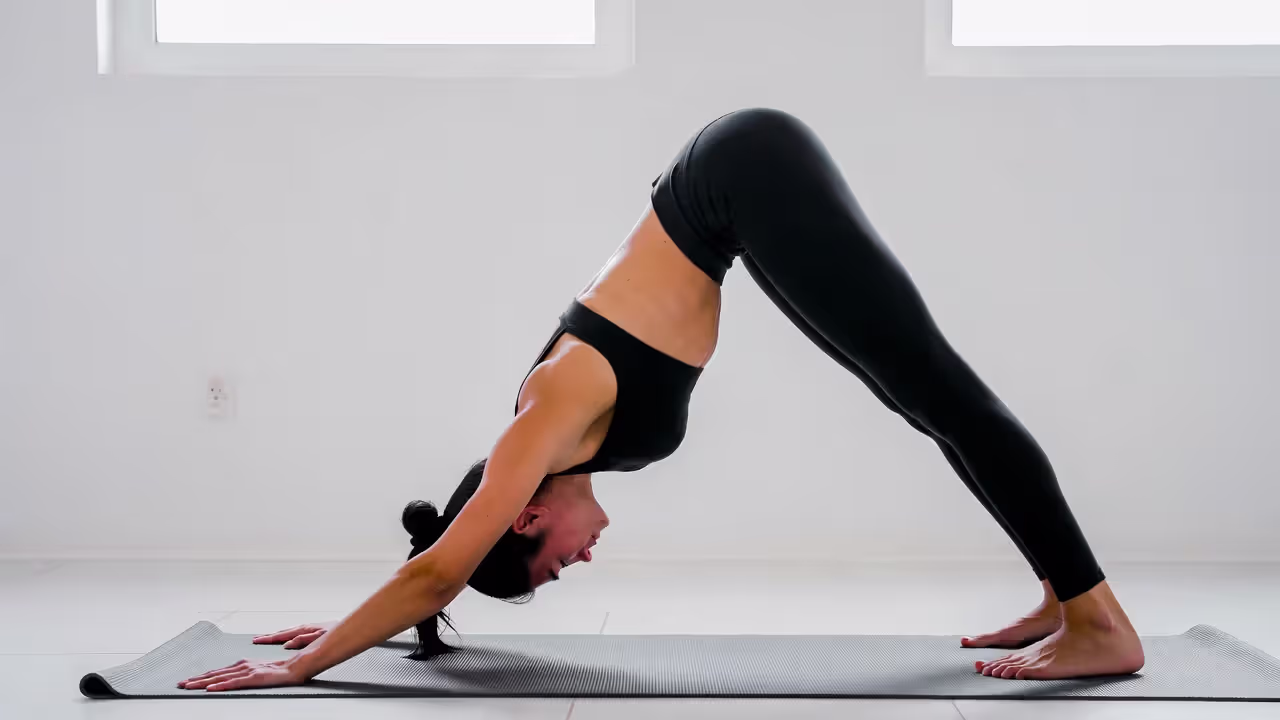
Downward-Facing Dog (Adho Mukha Svanasana) Start on hands and knees, hands shoulder-width apart, knees hip-width apart. Tuck your toes and lift your hips up and back, forming an inverted V. Bend your knees generously at first—straight legs with a rounded spine defeats the purpose. Press your hands firmly into the mat, fingers spread wide. Your heels don't need to touch the floor; many people's anatomy prevents this. Hold for 5–8 breaths. This pose strengthens arms and shoulders while stretching hamstrings and calves.
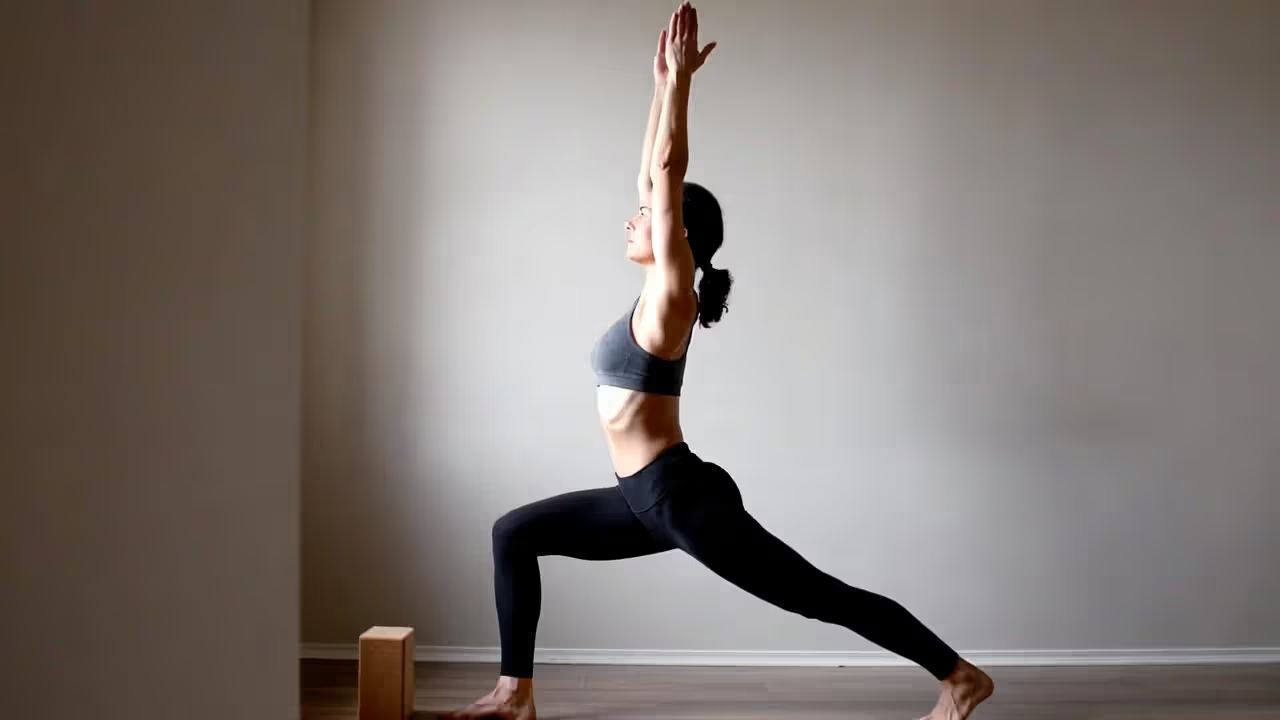
Warrior I (Virabhadrasana I) Step your left foot back about 3–4 feet, turning your left toes out 45 degrees. Bend your right knee until it's directly over your right ankle (not past it). Square your hips forward—this is the tricky part. Reach your arms overhead. Your back leg stays straight and strong. Hold for 5 breaths, then switch sides. Builds leg strength and improves hip flexibility.
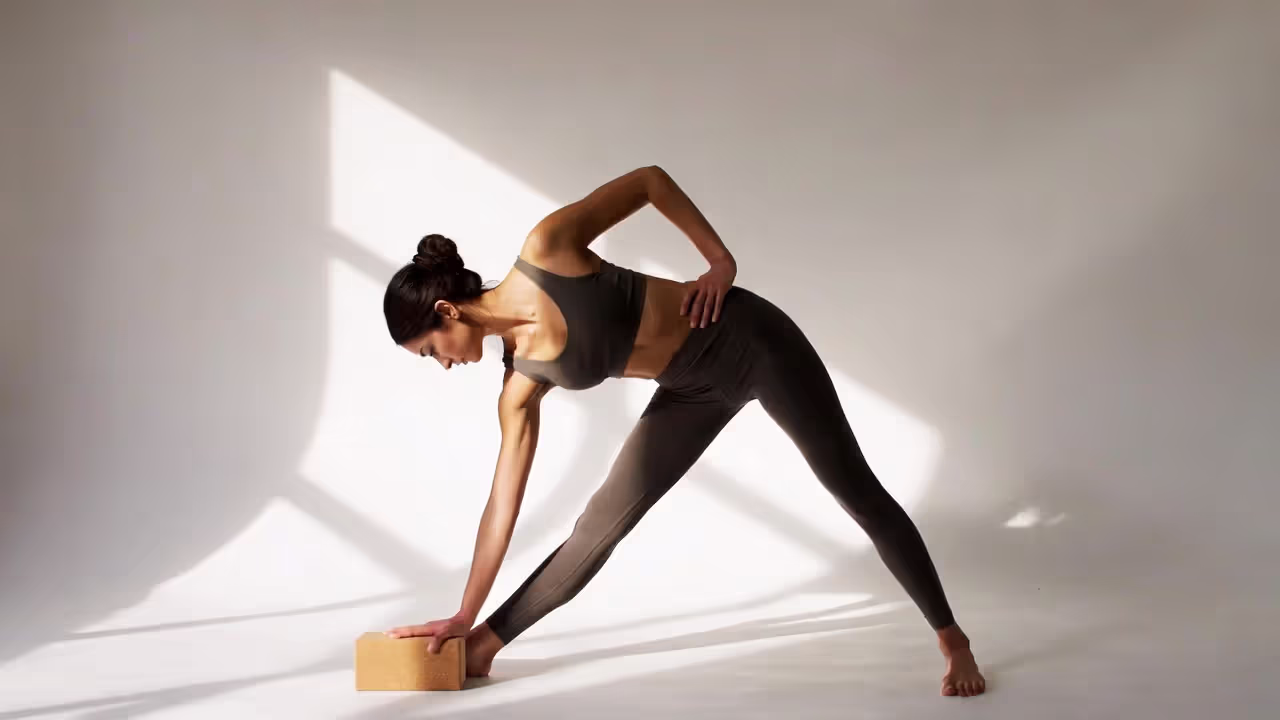
Triangle Pose (Trikonasana) Stand with feet wide, right toes forward, left toes slightly in. Reach your right arm forward, then hinge at the hip to bring your right hand to your shin, ankle, or a block. Extend your left arm straight up. Keep both legs straight, and don't collapse your torso onto your front leg. Your gaze can go up toward your top hand or down toward the floor—whatever feels comfortable for your neck. Stretches the side body and outer hips.
Author: Amanda Reeds;
Source: thelifelongadventures.com
Seated and Floor Poses
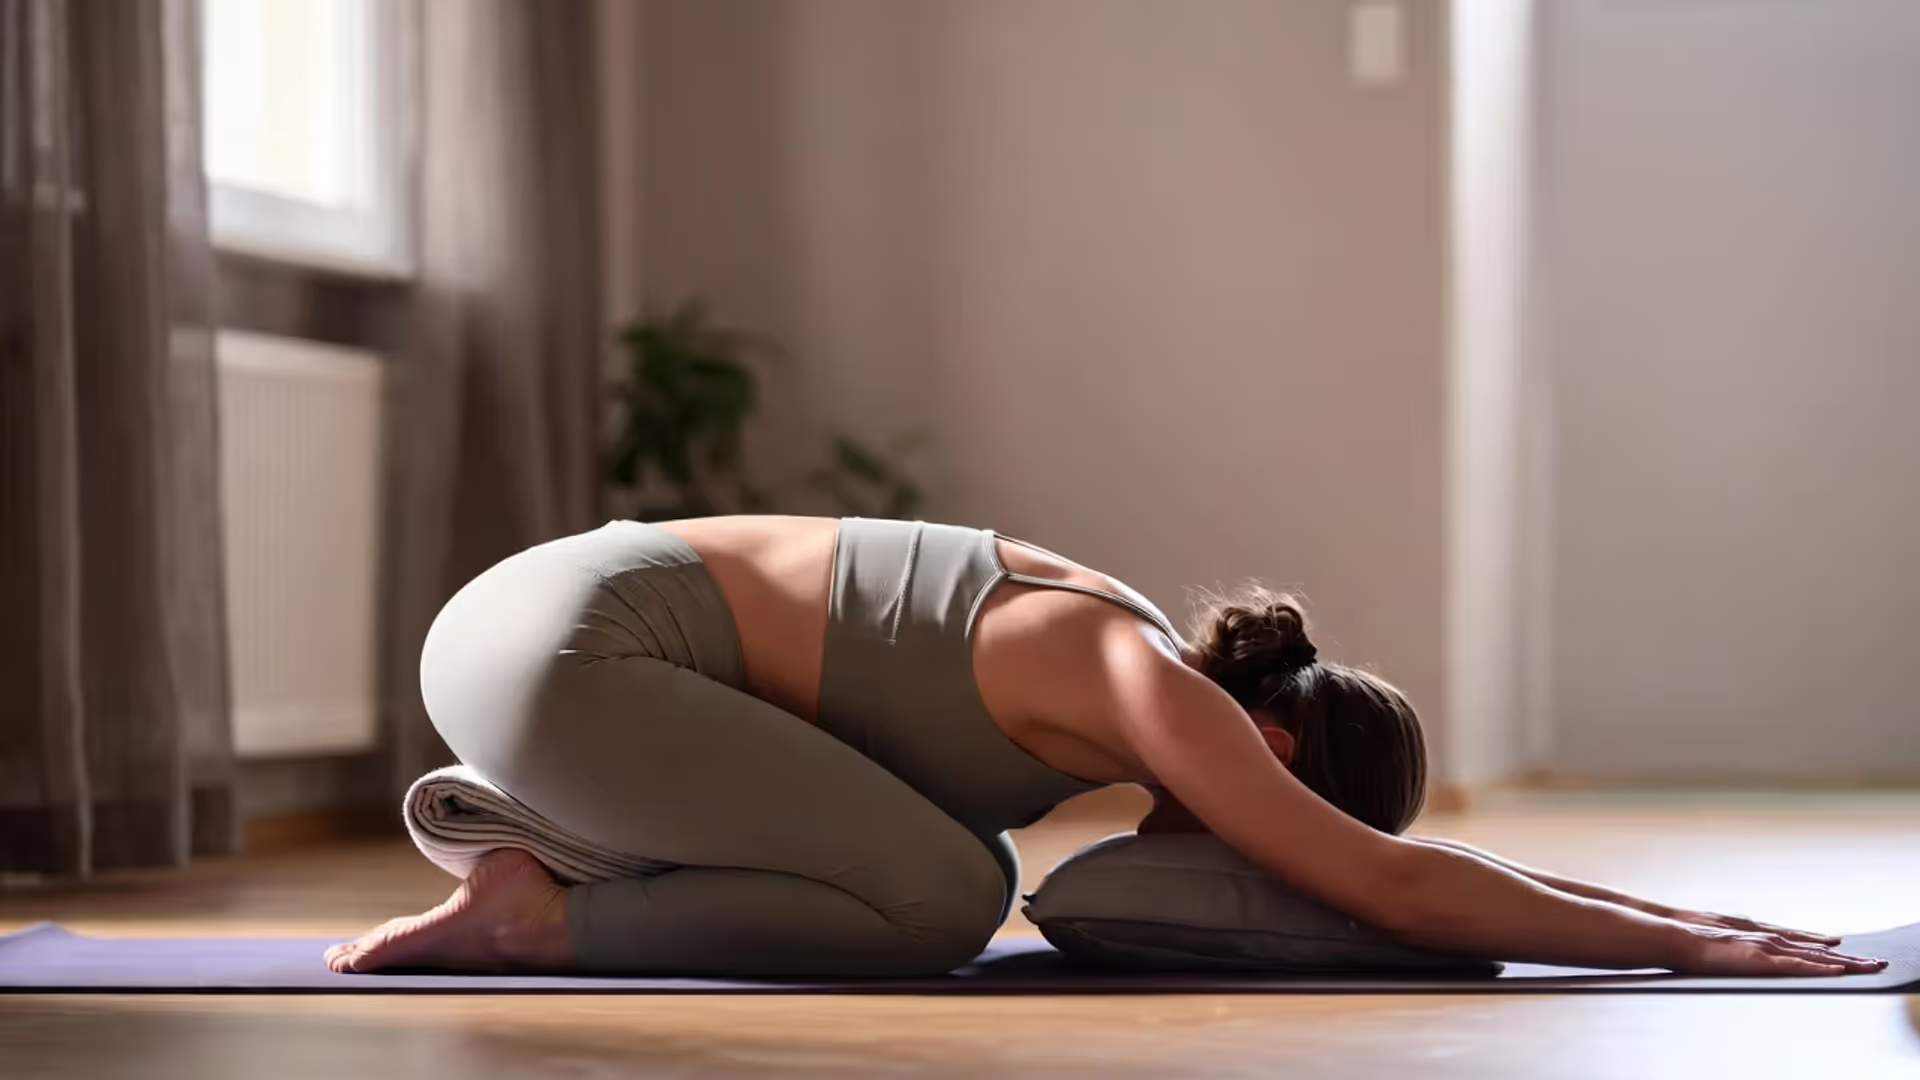
Child's Pose (Balasana) Kneel on the mat, big toes touching, knees apart. Sit your hips back toward your heels and stretch your arms forward, forehead resting on the mat. If your hips don't reach your heels, place a folded blanket or bolster between them. This is your rest pose—return here whenever you need a break during practice. Gently stretches the lower back and hips.
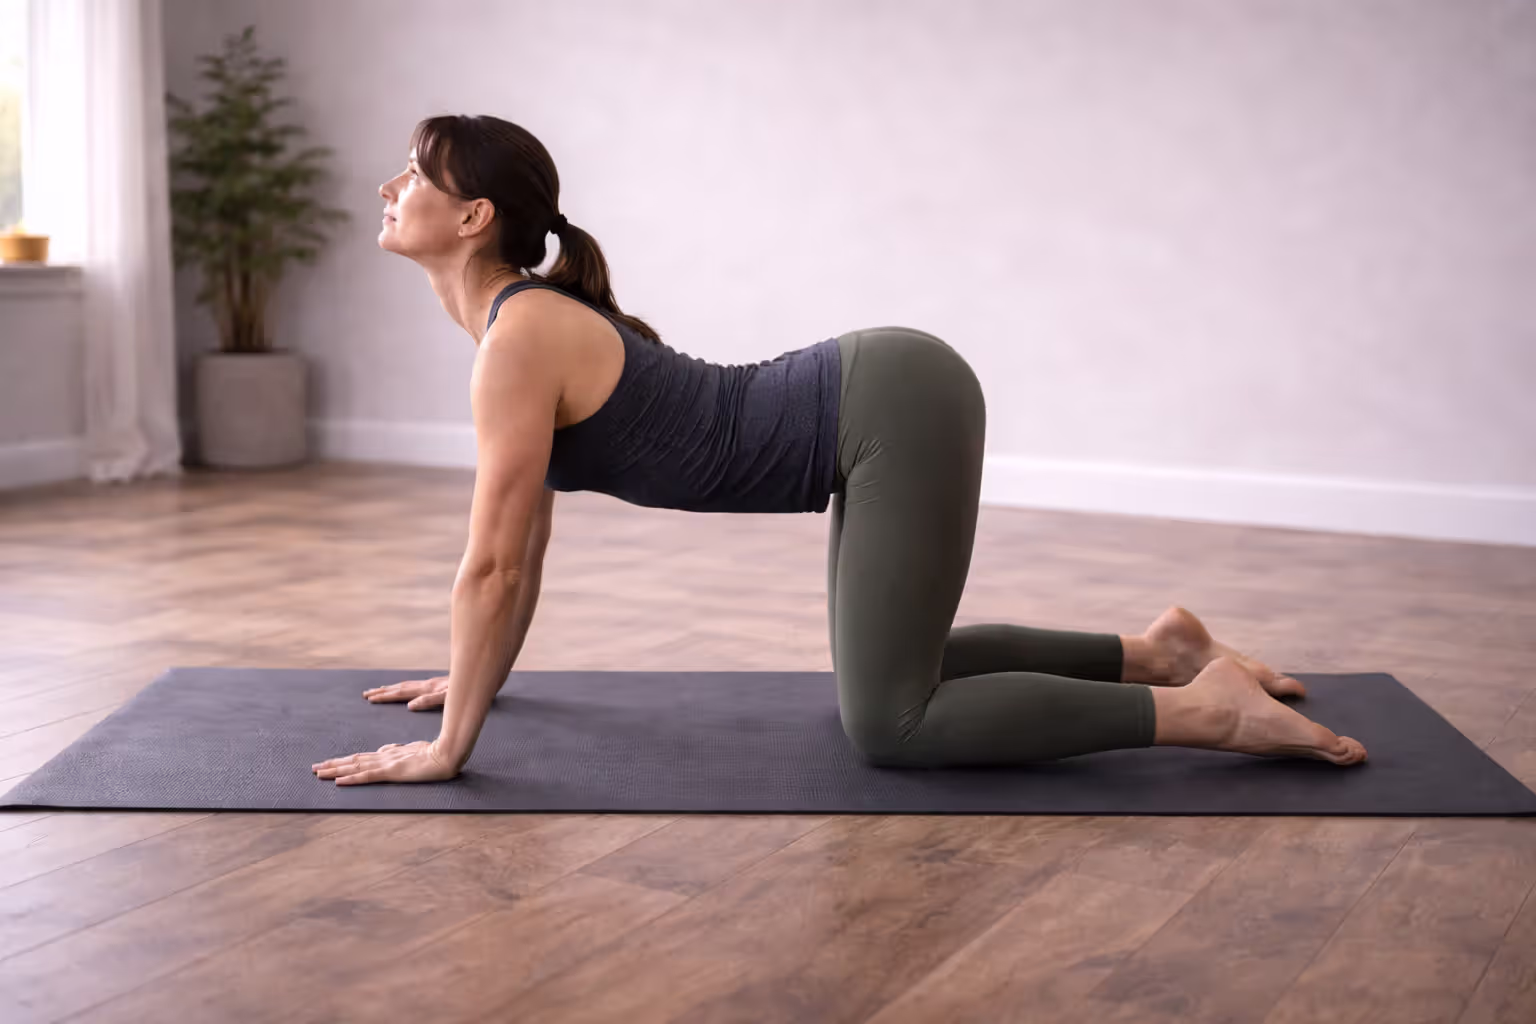
Cat-Cow Stretch (Marjaryasana-Bitilasana) On hands and knees, inhale and arch your back, lifting your chest and tailbone (cow). Exhale and round your spine, tucking your chin and tailbone (cat). Flow between these two shapes for 8–10 breaths. Warms up the spine and coordinates breath with movement—a fundamental yoga skill.
Author: Amanda Reeds;
Source: thelifelongadventures.com
Seated Forward Fold (Paschimottanasana) Sit with legs extended straight in front of you. Inhale to lengthen your spine, exhale to hinge forward from your hips (not your waist). Reach for your shins, ankles, or feet—wherever you can without rounding your back excessively. Bent knees are perfectly acceptable here. Hold for 8–10 breaths. Stretches hamstrings and lower back.
Bridge Pose (Setu Bandha Sarvangasana) Lie on your back, knees bent, feet flat on the floor hip-width apart, heels close to your sitting bones. Press into your feet and lift your hips toward the ceiling. Clasp your hands under your back and wiggle your shoulders closer together. Keep your neck neutral—don't turn your head. Hold for 5–8 breaths. Strengthens glutes and back muscles while opening the chest.
Supine Twist (Supta Matsyendrasana) Lie on your back, hug your right knee to your chest, then guide it across your body to the left side. Extend your right arm out to the side and look right. Keep your right shoulder grounded. Hold for 8–10 breaths, then switch sides. Releases tension in the spine and hips.
Corpse Pose (Savasana) Lie flat on your back, legs extended, arms at your sides with palms up. Close your eyes. Let your feet fall open naturally. Consciously relax each body part, starting from your toes and moving up to your face. Stay here for 3–5 minutes minimum. This isn't nap time—it's active relaxation where your nervous system integrates the practice. Many beginners skip this, but it's arguably the most important pose.
How to Build Your First 20-Minute Beginner Yoga Routine
A well-structured sequence moves your body through different planes of motion while gradually increasing intensity, then cooling down. Here's a sample routine you can practice 3–4 times per week.
Warm-up (5 minutes) Start in child's pose for 1 minute, focusing on deep breaths. Transition to hands and knees for cat-cow stretch, 10 rounds. Move to downward-facing dog for 5 breaths, pedaling your feet to warm up your calves. Step forward to mountain pose.
Standing sequence (8 minutes) Mountain pose, 3 breaths. Step your left foot back into warrior I, hold 5 breaths. Straighten your front leg and transition to triangle pose, 5 breaths. Return to mountain pose. Repeat the warrior I and triangle sequence on the other side. Step back to downward-facing dog, hold 5 breaths. Lower to hands and knees.
Floor sequence (5 minutes) From hands and knees, sit back into child's pose for 5 breaths. Transition to seated position for forward fold, 8 breaths (bend your knees if needed). Lie on your back for bridge pose, 5 breaths, repeat twice. Hug both knees to chest, then move into supine twist on each side, 8 breaths per side.
Cool-down (2 minutes) Extend into corpse pose. Set a gentle timer so you don't have to watch the clock. Focus on releasing muscular effort with each exhale. When the timer sounds, slowly roll to one side and press yourself up to sitting.
Breathing and pacing notes: Match one breath cycle (inhale plus exhale) to each movement in cat-cow. In held poses, breathe smoothly through your nose—if you're gasping through your mouth, ease up. Your breath is your intensity gauge. If it becomes ragged, take child's pose or reduce the depth of the stretch.
Author: Amanda Reeds;
Source: thelifelongadventures.com
Common Mistakes New Yogis Make (And How to Avoid Them)
Pushing into pain instead of sensation. Yoga should create a feeling of stretch or mild discomfort, not sharp pain. Pain is your body's warning system. If you feel a pinching, stabbing, or burning sensation, back off immediately. The edge of your flexibility is where you feel strong sensation but can still breathe smoothly. That's your working zone.
Holding your breath. Beginners often unconsciously hold their breath in challenging poses. This triggers your stress response, defeating yoga's calming purpose. If you notice you've stopped breathing, it's a sign to ease up. Breath comes first, pose depth comes second.
The pose begins when you want to leave it.
— B.K.S. Iyengar
Locking joints. In poses like downward dog or triangle, keep a micro-bend in your knees and elbows. Hyperextending (locking) joints shifts stress from muscles to ligaments and cartilage, which increases injury risk. Engaged muscles protect joints.
Comparing yourself to others. The person next to you might have been practicing for years, or they might have different bone structure that makes certain poses easier. Your hip sockets, spine curves, and limb proportions are unique. Someone with longer arms naturally reaches the floor in a forward fold more easily than someone with a shorter torso. Focus on how your body feels, not how it looks.
Skipping the warm-up or final relaxation. Jumping straight into deep stretches on cold muscles can cause strains. Your first few poses should be gentle, repetitive movements that increase blood flow. Similarly, cutting savasana short means you miss the integration phase where your nervous system absorbs the practice's benefits.
Practicing erratically. Doing yoga once every two weeks won't create noticeable change. Three 20-minute sessions per week outperform one 90-minute session weekly. Consistency rewires movement patterns and builds flexibility more effectively than sporadic intensity.
Author: Amanda Reeds;
Source: thelifelongadventures.com
Choosing the Right Yoga Style for Your Goals
Not all yoga is the same. Different styles emphasize different elements—some prioritize strength, others relaxation. Here's how the most beginner-friendly approaches compare:
Style
Pace/Intensity
Best For
Typical Class Length
Hatha
Slow to moderate; poses held 5–10 breaths
Learning foundational alignment; building strength and flexibility evenly
60–75 minutes
Vinyasa
Moderate to fast; flowing sequences linked by breath
Cardiovascular fitness; those who prefer continuous movement
60–90 minutes
Yin
Very slow; passive poses held 3–5 minutes
Deep connective tissue stretching; stress relief; meditation practice
60–75 minutes
Restorative
Extremely gentle; fully supported poses held 5–20 minutes
Recovery from injury or illness; nervous system regulation; insomnia
60–90 minutes
Chair Yoga
Slow; most or all poses done seated or using chair for support
Limited mobility; balance concerns; office workers needing desk-friendly practice
30–60 minutes
Hatha is the best starting point for most beginners. You'll learn proper alignment without the pressure of keeping up with a fast-paced flow. Once you're comfortable with basic poses, you can explore other styles.
Vinyasa appeals to people who get bored easily or want a workout feel. However, the quick pace makes it harder to catch alignment cues. If you choose Vinyasa as a beginner, look for "slow flow" or "beginner Vinyasa" classes.
Yin targets fascia and joints rather than muscles. Poses feel passive but intense—you're using gravity and time rather than muscular effort. This style complements more active practices or athletic training. Not ideal as your only yoga practice since it doesn't build strength.
Restorative uses props to fully support your body in gentle poses. You're not stretching; you're allowing your nervous system to shift into rest mode. Excellent for stress, sleep issues, or when you're recovering from overtraining. Feels "too easy" to people seeking a physical challenge.
Chair Yoga removes balance challenges and floor transitions. Perfect for older adults, people with knee issues, or anyone who finds getting up and down from the floor difficult. Don't dismiss it as too basic—you can build significant strength and flexibility while seated.
Many studios offer "fundamentals" or "basics" classes that move slowly and explain alignment in detail. These are worth attending even if you've been practicing at home, since an instructor can spot and correct habits you've developed.
Frequently Asked Questions About Starting Yoga
Do I need to be flexible to start yoga?
Absolutely not. Yoga is how you become flexible. If you can't touch your toes, you're exactly who yoga is designed for. Use props—blocks bring the floor to you, straps extend your reach. Every pose has modifications. Flexibility improves gradually over months, not days. Focus on consistent practice rather than dramatic stretches.
How often should a beginner practice yoga?
Three times per week is the sweet spot for building new skills without overwhelming your body. Each session can be 20–30 minutes. Daily practice is fine if you vary intensity—alternate between active sequences and gentle stretching. Taking 1–2 rest days per week prevents overuse injuries and gives your connective tissue time to adapt. Weekend warriors who cram one intense 90-minute class into a busy week see slower progress than people who practice briefly but regularly.
Is it better to learn yoga at home or in a studio?
Studios provide real-time feedback, which prevents you from reinforcing poor alignment. The investment (usually $15–$30 per class) creates accountability. Home practice offers flexibility and privacy but requires more self-discipline. The ideal path: attend studio classes once or twice weekly to learn proper form, then practice at home 1–2 times weekly to reinforce those lessons. Many studios offer introductory packages (3–4 classes for $30–$40) so you can try different teachers.
What if I feel sore after my first session?
Muscle soreness 24–48 hours after practice is normal, especially if you're new to exercise. It means you've challenged your muscles in unfamiliar ways. Gentle movement helps—take a walk or do light stretching. Drink plenty of water. Sharp pain during or immediately after practice is different—that signals potential injury and means you pushed too hard. Soreness should decrease with each subsequent session as your body adapts.
Can older adults or plus-size people do yoga safely?
Yes. Yoga is scalable to any body and any age. Chair yoga eliminates floor transitions. Props like blocks and straps make poses accessible regardless of flexibility or body size. Many poses can be modified—for example, doing plank with your knees down removes no value. Look for classes labeled "gentle," "adaptive," or "all levels." Good instructors teach the pose, not a specific body shape. If an instructor makes you feel unwelcome or suggests yoga isn't for your body type, find a different instructor—that's their limitation, not yours.
How much does it cost to start yoga?
Bare minimum: $30 for a decent mat. Add $20–$30 for two blocks and a strap if practicing at home. YouTube offers thousands of free classes (Yoga with Adriene is a popular beginner-friendly channel). Studio drop-in classes run $15–$30; monthly unlimited passes cost $80–$150. Many studios offer free or discounted first classes. Community centers and recreation departments often have cheaper classes ($5–$10). Apps like Down Dog ($8/month) or Alo Moves ($20/month) provide structured programs. You can start effectively for under $50 and scale up as your commitment grows.
Moving Forward with Your Practice
You now have the foundational knowledge to begin yoga safely and effectively. Start with the 20-minute routine outlined above, practicing three times this week. Don't wait until you "have time" or "get in better shape first." Those conditions never arrive. You start where you are, with the body you have, in the space you have available.
Pay attention to how you feel after practice rather than during. The real measure isn't whether you nailed every pose but whether you feel calmer, more grounded, or physically looser an hour later. Those subtle shifts accumulate into significant changes over weeks and months.
If you attend a studio class and feel lost, remember that every experienced practitioner once stood in your exact position. Teachers appreciate questions after class. Fellow students usually remember their own beginner confusion and offer friendly guidance.
Your practice will evolve. Poses that feel impossible this month become accessible next month. Your goals might shift from wanting a workout to craving the mental clarity. You might discover you love the meditative quality of Yin yoga or the challenge of balancing poses. All of that is ahead of you. For now, unroll your mat, take a breath, and begin.
Runners get tight hip flexors, stubborn calves, and underactive glutes from thousands of repetitive strides. This guide shows the best yoga poses for common running issues, when to do dynamic vs recovery yoga, a 15-minute cooldown sequence, and how often to practice for mobility without overstretching.
Struggling with tight hips, hamstrings, or shoulders? This guide explains why yoga improves flexibility better than static stretching—by retraining your nervous system and building strength at end range. Learn 12 essential poses, follow 15/30/45-minute routines, and avoid the mistakes that stall progress.
Back pain is common—but yoga can reduce pain and improve function when done right. Learn why it works for acute vs chronic pain, 8 proven relief poses, how often to practice, mistakes that worsen symptoms, when to seek yoga therapy, and posture/core habits that protect your spine daily.
Discover how pranayama differs from normal breathing and how to use it safely. Learn 7 essential techniques—diaphragmatic breathing, ujjayi, alternate nostril, kapalabhati, bhramari, sitali, and box breathing—plus timing, common mistakes, and how to blend breathwork with yoga and daily life.
The content on this website is provided for general informational and educational purposes related to health, yoga, fitness, and overall wellness. It is not intended to replace professional medical advice, diagnosis, or treatment.
All information, workout suggestions, yoga practices, nutrition tips, and wellness guidance shared on this site are for general reference only. Individual health conditions, fitness levels, and medical needs vary, and results may differ from person to person. Always consult a qualified healthcare provider before starting any new exercise program, dietary plan, or wellness routine.
We are not responsible for any errors or omissions, or for any outcomes resulting from the use of information presented on this website. Your health and fitness decisions should always be made in consultation with appropriate medical and fitness professionals.