Walk into most yoga studios, and you'll face an immediate challenge: getting down to floor level, then hauling yourself back up 60 minutes later. If you're managing arthritis in your knees, recovering from hip surgery, or just haven't touched your toes since 1987, that first step stops you cold before class even begins.
That's where chair yoga exercises change everything. You get the same breathing work, the same intentional stretching, the same mind-body connection—just from a stable seat. No wrestling with mats. No worrying about toppling over mid-pose.
Physical therapists started using these adaptations decades ago for patients rebuilding strength after injuries. Then senior centers caught on. Now? Everyone from pregnant women to office workers stuck in cubicles uses seated modifications. Turns out, accessibility benefits more people than you'd think.
What Makes Chair Yoga Different from Traditional Practice
Here's what changes: everything happens while you're sitting down, or you're standing while holding the chair for support. That's it.
But that one shift matters enormously. You're not burning mental energy wondering if you'll lose balance during tree pose. You're not calculating whether your knees can handle another transition from standing to kneeling. All that worry evaporates, leaving you free to actually focus on how each movement feels.
Traditional mat classes often chase deeper stretches and more impressive poses. Chair-based practice prioritizes different outcomes—can you turn your head far enough to check your blind spot while driving? Can you lift your arms high enough to put dishes away on the top shelf? Can you bend forward to tie your shoes without groaning? These functional movements matter more than touching your forehead to your shins.
Your breathing technique stays identical regardless of where you practice. Inhale during expansive movements. Exhale during twists and folds. That synchronized breath pattern still triggers the same stress-reduction response whether you're on a mat or in a kitchen chair.
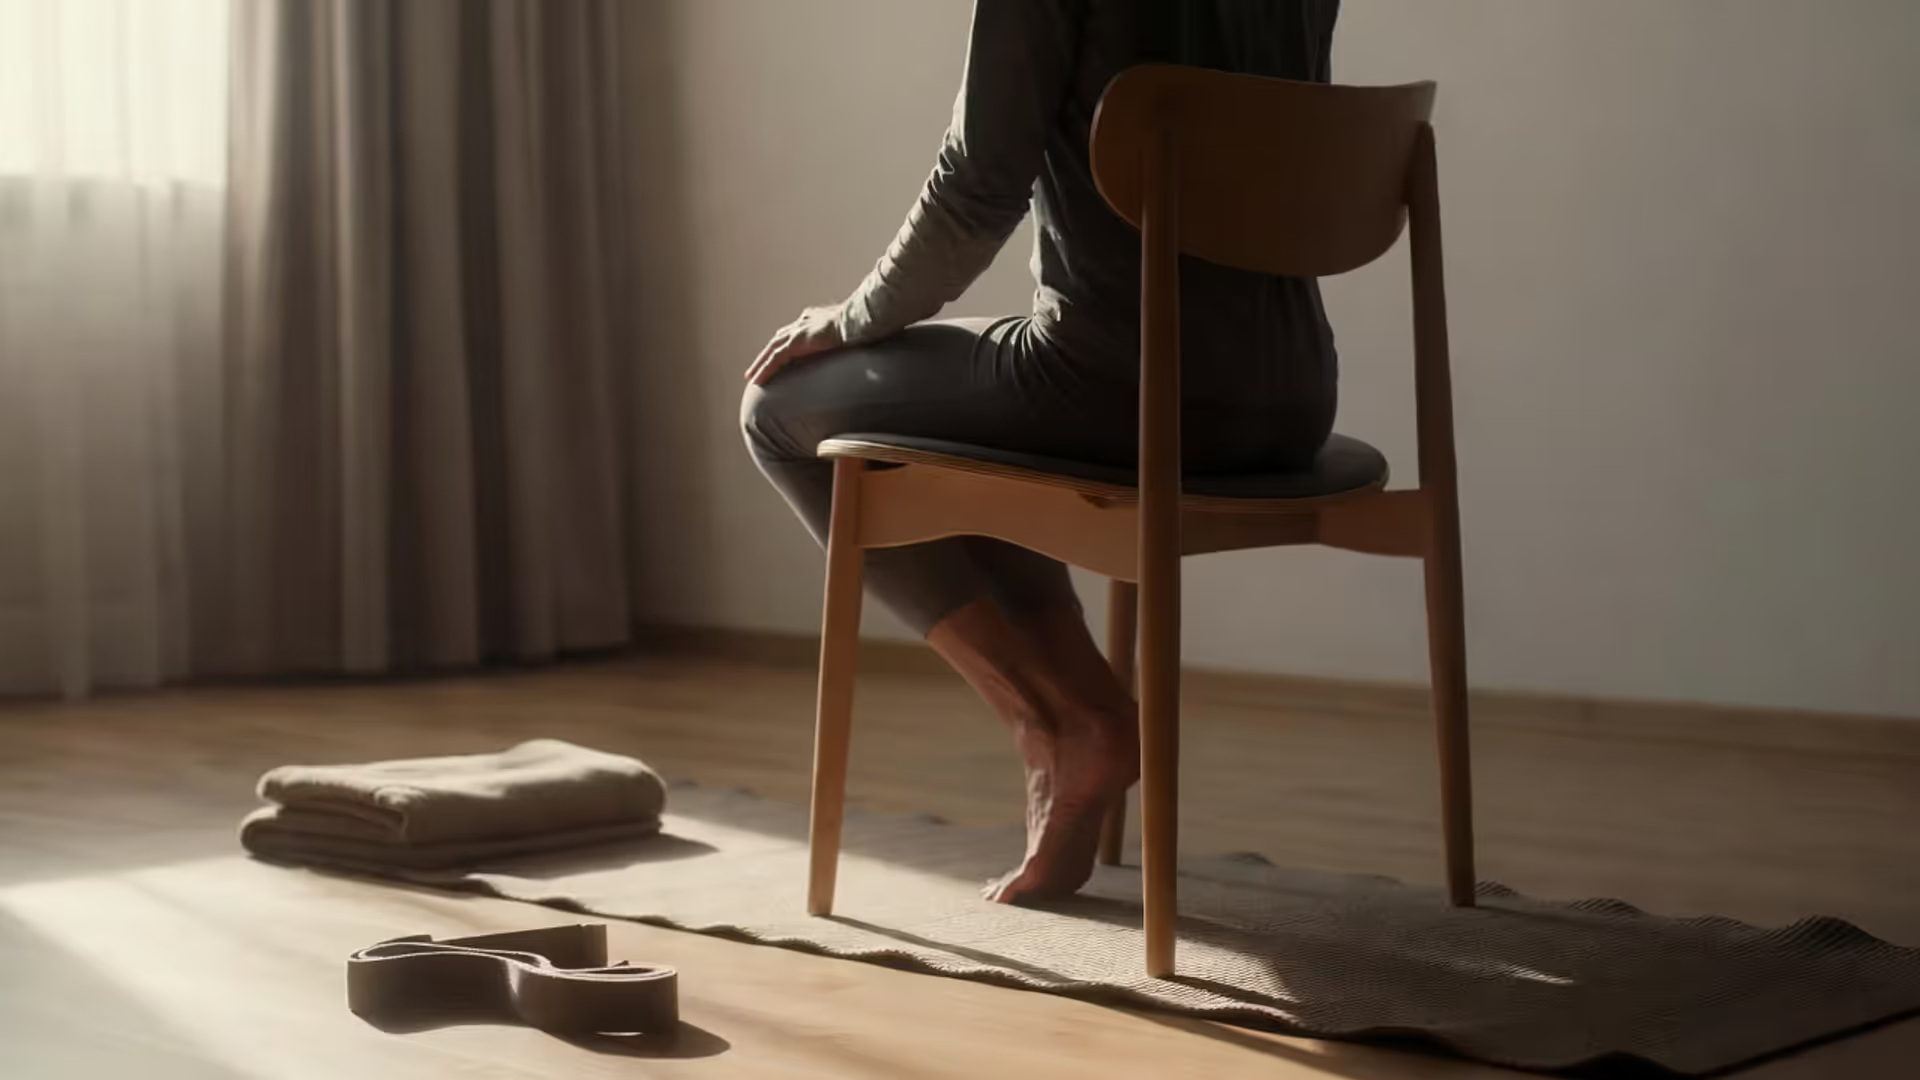
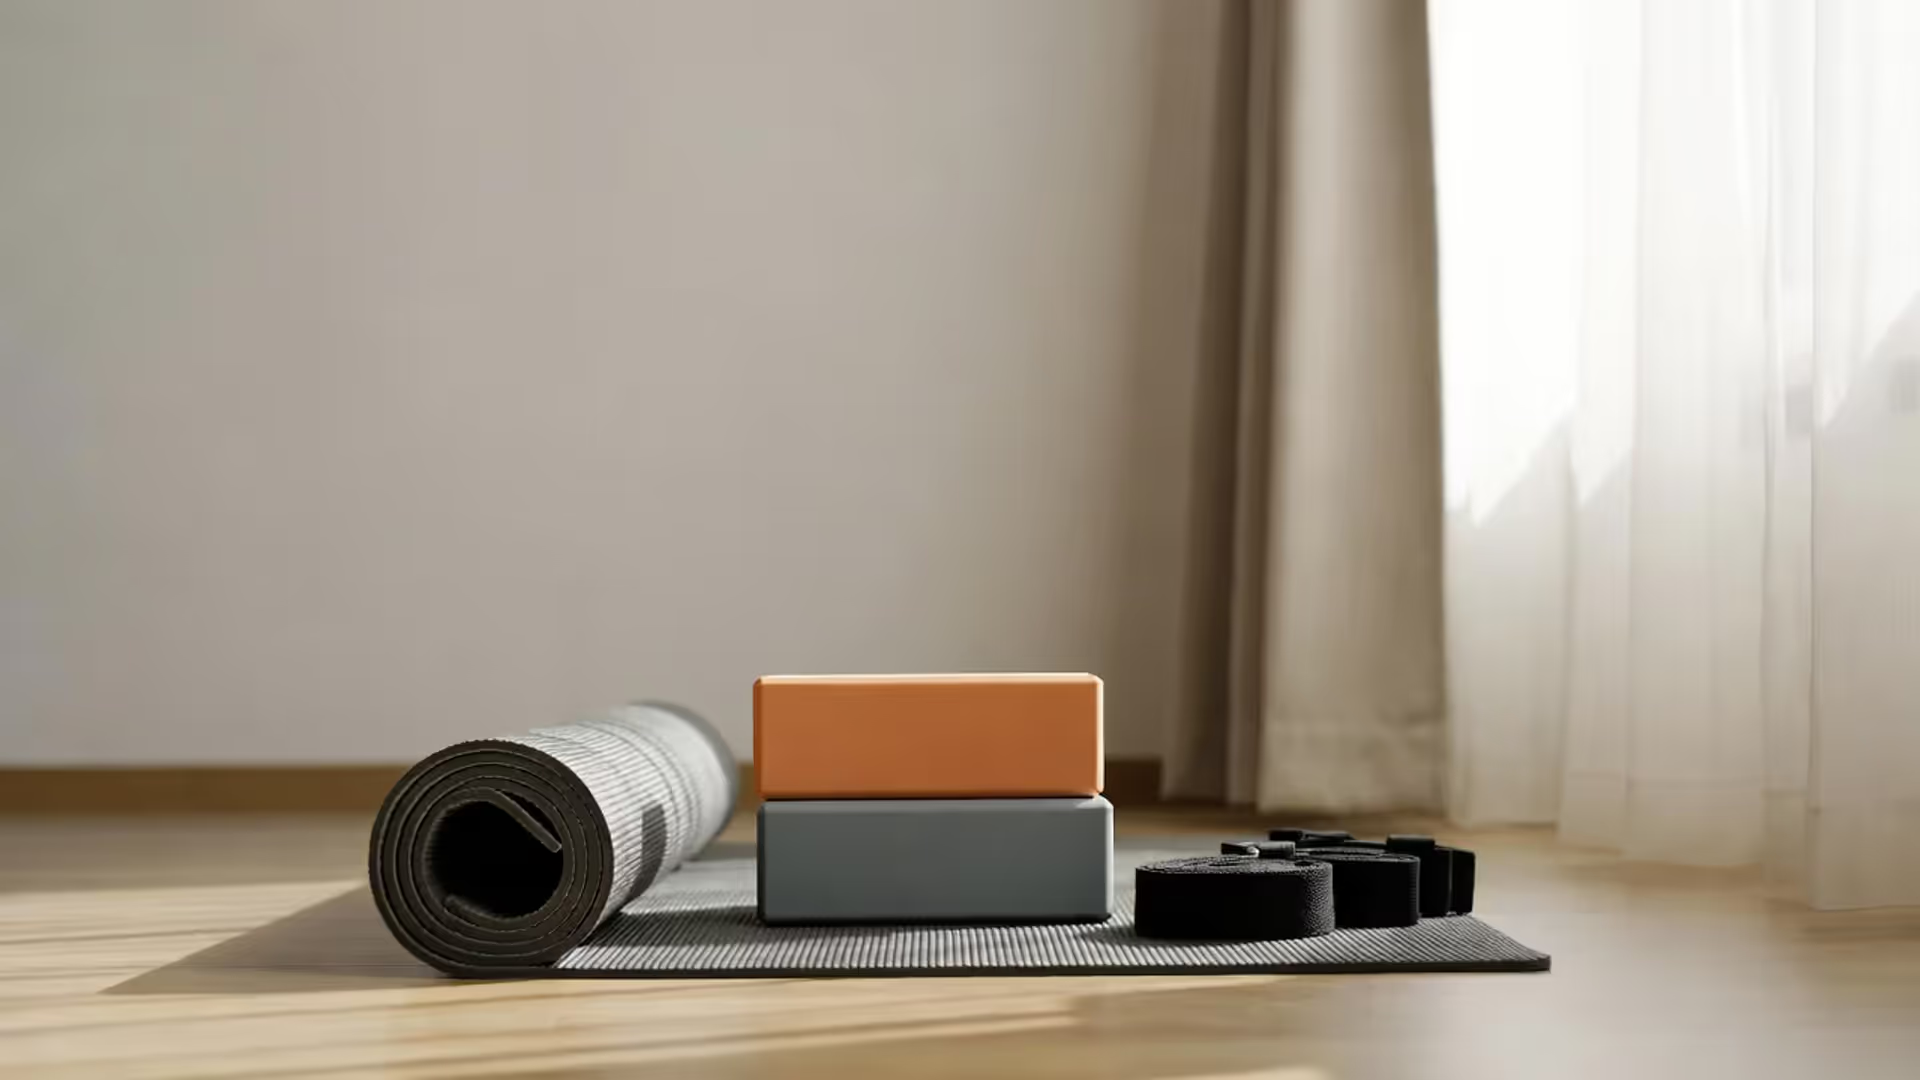
For equipment, you need something stable. Four legs, no wheels, no armrests blocking sideways movement. The height should let you plant both feet completely flat on the ground—not dangling, not stretched out—with your thighs parallel to the floor. Most kitchen chairs work perfectly. Dining room seats? Great. That wheelie office chair? Absolutely not, unless you can lock it down or wedge it against something immovable.
Some people grab a yoga strap or resistance band for certain stretches, but you can complete full 20-minute sessions with nothing except a solid chair.
12 Essential Chair Yoga Poses for Beginners
These twelve movements target the specific spots where sedentary lifestyles create problems. Each pose addresses real issues—hunched shoulders, tight hips, stiff necks.
Author: Logan Brooks;
Source: thelifelongadventures.com
Upper Body Stretches
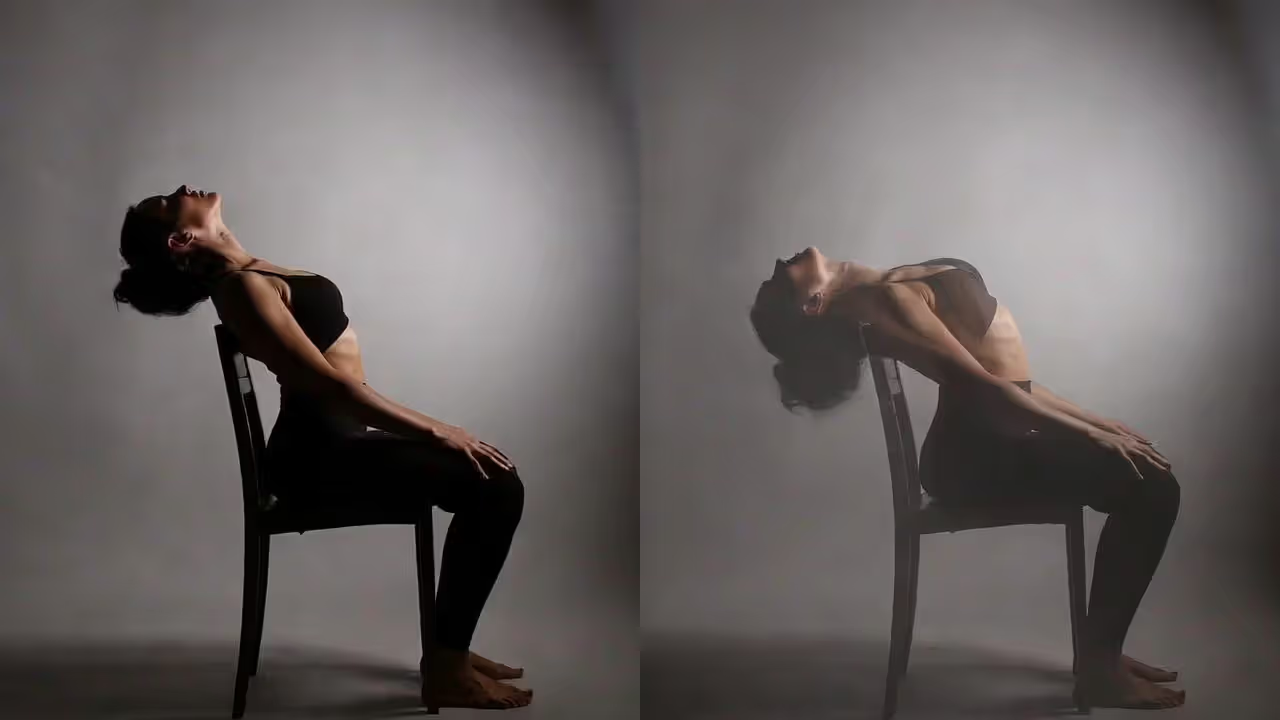
Seated Cat-Cow: Plant your feet flat, hands resting lightly on your thighs. Breathing in, arch your back forward—chest lifts, shoulder blades squeeze together, tailbone tilts back. That's cow. Breathing out, round your spine the opposite direction—chin tucks, belly pulls in, tailbone tucks under. That's cat. The motion should ripple through your entire spine like a wave, not just your shoulders jerking forward and back. Take a full five seconds for each transition. Most people rush through in two seconds and wonder why they don't feel anything. Eight full cycles give your spine the articulation it needs.
Shoulder Rolls: Seems almost too basic, right? But these directly undo the forward-collapsed shoulder position you create hunching over keyboards or steering wheels. Lift both shoulders straight up toward your ears, pull them back, press them down, then roll them forward. That's one circle. Complete eight circles forward. Then reverse for eight circles backward. Here's the detail most people skip: at the very top of each roll, pause for a half-second. Really jam those shoulders up toward your ears. That brief pause fully engages the upper trapezius muscles instead of just waving your shoulders around vaguely.
Neck Releases: Sit up straight. Drop your right ear toward your right shoulder—but don't let that shoulder sneak up to meet your ear halfway. Your left shoulder actively presses down toward the floor. Maintain this stretch while taking five slow, deliberate breaths. Then repeat the movement on your opposite side. Want more stretch? Rest your right hand gently on the left side of your head. Don't pull. Just let your arm's weight create gentle traction. Yanking on your neck creates problems instead of solving them.
Author: Logan Brooks;
Source: thelifelongadventures.com
Core and Spine Movements
Seated Twist: Turn sideways on your chair so you're facing the chair's backrest instead of looking forward. Put both hands on the backrest. Inhale and sit taller, lengthening your spine upward. Exhale and twist toward the backrest, using your hands for gentle leverage—not cranking yourself around like you're wringing out a towel. Your hips stay pointing forward. All the rotation happens in your mid and upper back. Take five full breath cycles in this rotated position before you release and practice the opposite direction. This twist helps maintain the spinal rotation you need for practical stuff like parallel parking or grabbing something from your back seat.
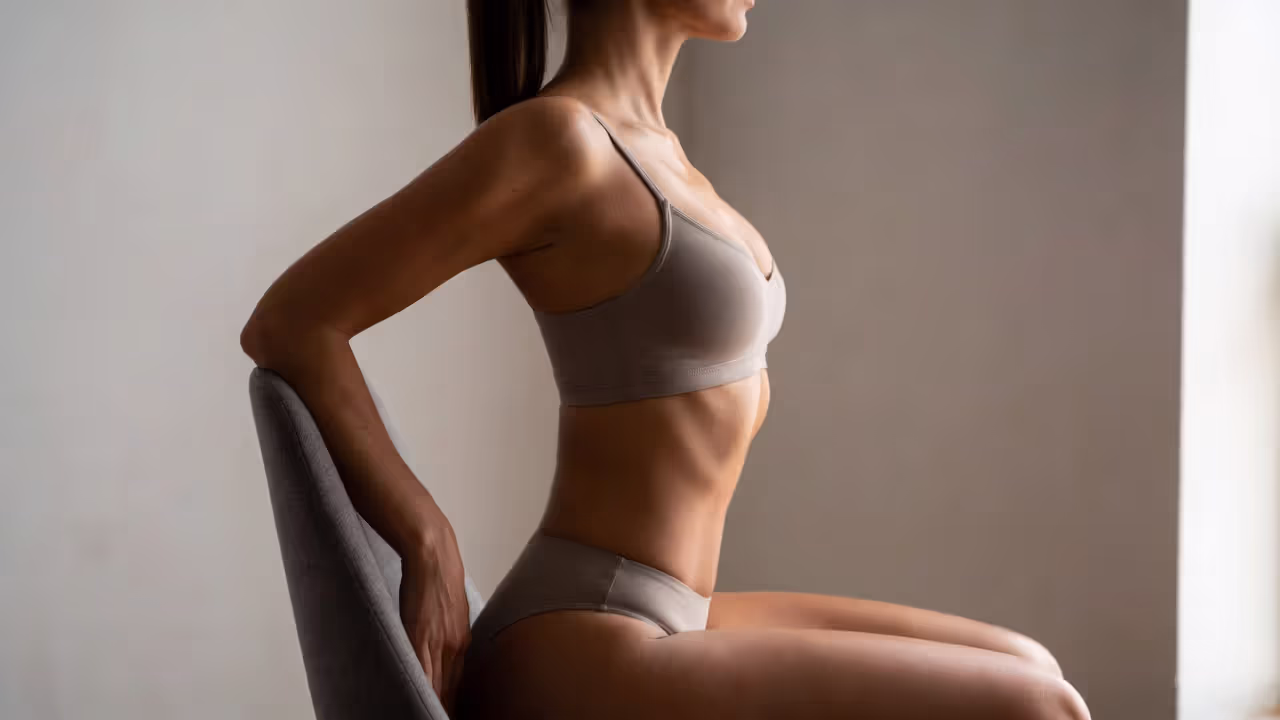
Side Bends: Sit centered with both feet flat. Lift your right arm overhead and lean left, letting your left hand slide down your chair leg for stability. Most people either collapse forward or lean backward during this. Don't. Imagine you're moving between two walls of glass, one in front of you and one behind. Your chest stays open. The stretch runs up your entire right side from hip all the way to your fingertips. Breathe steadily for four complete cycles, then switch to stretch your left side.
Lower Body and Hip Openers
Author: Logan Brooks;
Source: thelifelongadventures.com
Ankle Circles: Extend your right leg out slightly. Rotate your ankle in slow, deliberate circles—eight clockwise, then eight counterclockwise. You almost never move your ankles through their complete range of motion during normal walking. That limited movement gradually reduces mobility. These simple circles maintain and improve ankle flexibility, which directly affects balance and reduces fall risk. Switch legs and repeat.
Seated Pigeon: Scoot forward on your chair. Bring your right ankle up and place it on your left thigh, just above the knee. You've created a figure-four shape with your legs. Flex your right foot—toes pulling back toward your shin—to protect your knee joint. For many people, this position alone creates plenty of sensation in the right hip. If you want deeper stretch, hinge forward from your hips, keeping your spine long rather than rounding your back. This addresses the hip tightness that contributes to lower back pain. Breathe steadily for 8-10 cycles before releasing and working the opposite hip.
Knee Lifts: Sit tall. Lift your right knee toward your chest, wrapping both hands around your shin. Gently draw the knee closer on an exhale—emphasis on gently. This stretches your hip and lower back while building hip flexor strength. Alternate legs for six to eight lifts on each side.
Seated Forward Fold: Sit near the front edge of your chair, feet about hip-width apart. As you exhale, fold from your hip creases rather than rounding through your lower back, letting your upper body drape down over your legs. Your arms can dangle toward the floor or rest on your legs—whatever feels comfortable. The goal isn't touching the floor with your fingertips. The goal is creating length through your entire back body—spine, hamstrings, calves. Take 8-10 full breaths in this folded position.
Seated Mountain Pose: This establishes proper alignment for everything else. Sit with both feet planted flat, weight distributed evenly across both sitting bones (those bony points at the bottom of your pelvis). Position your shoulders directly above your pelvis, with your head balanced so your ears align vertically above your shoulder joints. Rest your hands on your thighs. Pull your lower ribs in slightly to engage your core. This active sitting should feel like work. If you're completely comfortable with zero effort, you've likely collapsed into a slouched position.
Warrior II Arms: Extend both arms straight out to the sides at shoulder height, palms facing down. Turn your head to gaze out over your right fingertips. Breathe steadily for five cycles. Switch your gaze to the left. This builds shoulder endurance and practices the same upper-body position used in standing warrior poses.
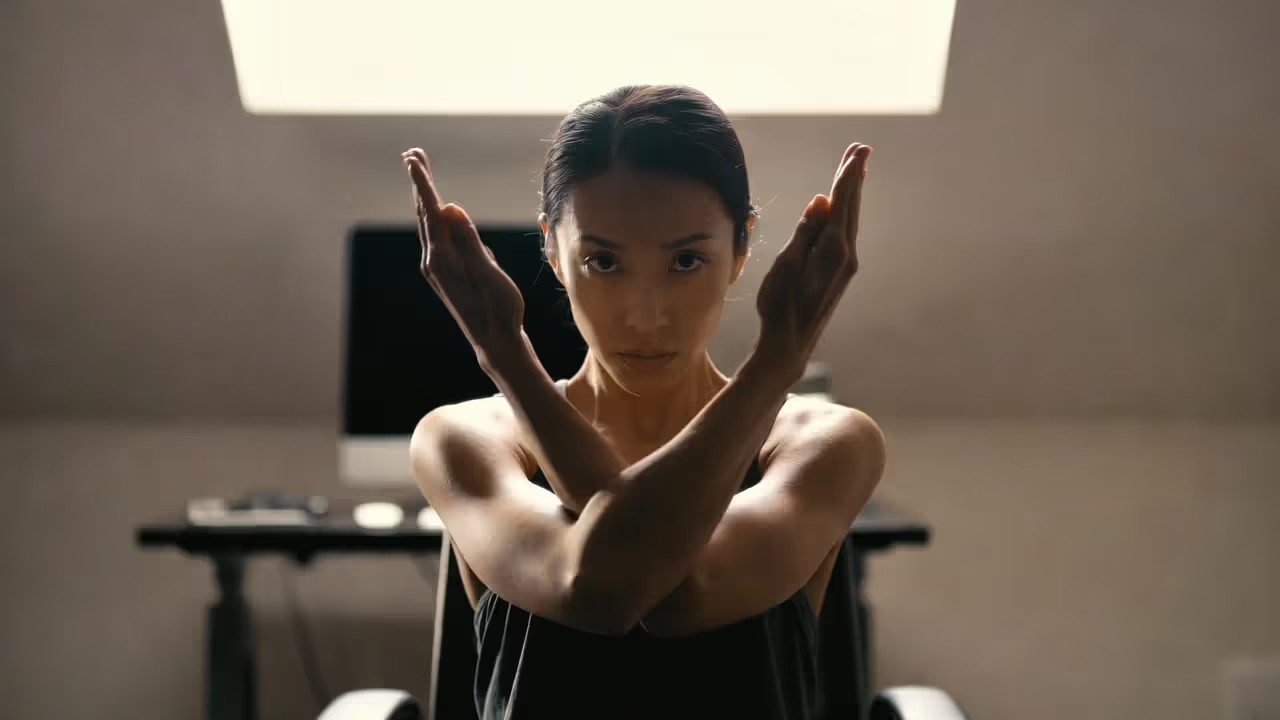
Eagle Arms: Extend both arms forward at shoulder height. Bring your right arm underneath your left, crossing at the elbows. Bend your elbows and try bringing your palms together. If your palms won't meet (many people's won't), grab your shoulders instead. Raise your crossed elbows upward to intensify the sensation spreading across your upper back. Breathe for five complete cycles, then uncross and repeat with your left arm underneath.
A complete seated yoga routine follows the same structure as floor practice: warm up gently, progress to more challenging movements, then cool down with restorative stretches.
Morning Energy Sequence: Start with Seated Mountain to establish proper alignment. Move through eight rounds of Seated Cat-Cow to wake up your spine. Add Shoulder Rolls and Neck Releases to address the stiffness that accumulated overnight. Progress to Seated Twists on both sides, then practice Warrior II Arms to generate some heat. Finish with Knee Lifts—eight per side—to activate your hip flexors and core. This sequence runs about 12 minutes and prepares your body for the day without wiping you out.
Midday Break Routine: Office workers particularly benefit from poses that reverse desk posture damage. Begin with Shoulder Rolls to release tension that's built up over the morning. Move into Eagle Arms to open the space between your shoulder blades. Practice Side Bends to restore lateral flexibility that gets completely ignored during computer work. Add Seated Twists to decompress your spine. End with Ankle Circles and a brief Seated Forward Fold. This 15-minute routine actively counteracts the physical stress of prolonged sitting.
Author: Logan Brooks;
Source: thelifelongadventures.com
Evening Relaxation Sequence: After a full day, your body needs gentle, restorative movements. Start with slow Neck Releases, holding each side for eight full breaths. Move through Seated Cat-Cow at a leisurely pace, really emphasizing the exhale. Practice Seated Pigeon on both sides, holding for a full minute each. Add gentle Seated Twists without pushing for maximum depth. Finish with a three-minute Seated Forward Fold, letting gravity do the work while you breathe. This sequence signals your nervous system to downshift into rest mode.
The breathing pattern matters just as much as the poses themselves. Aim for equal-length inhales and exhales—four counts in, four counts out. Notice your breath becoming strained or choppy? You're pushing too hard. Back off slightly and let your breathing return to a comfortable rhythm.
Movement is a medicine for creating change in a person’s physical, emotional, and mental states.
— Carol Welch
Safety Modifications for Limited Mobility and Chronic Conditions
Arthritis considerations: Joint inflammation responds well to movement, but forcing range of motion during a flare causes more damage than improvement. On high-pain days, cut your hold times to 3-4 breaths and reduce your range of motion by half. Gentle, frequent movement beats intense, occasional practice every time. Got hand arthritis? Skip poses that require gripping by using a strap looped around your foot or leg instead.
Balance issues: Even though you're seated, some poses challenge your equilibrium. Feel unstable during Seated Pigeon or one-legged movements? Keep one hand on your chair seat or the wall beside you. There's no achievement award for practicing without support. The goal is safe movement, not proving you don't need help.
Hip or knee replacements: Most orthopedic surgeons restrict certain movements for 6-12 weeks post-surgery, particularly hip flexion beyond 90 degrees and internal rotation. Seated Pigeon requires both those restricted movements, so skip it until your surgeon gives explicit clearance. Gentle Knee Lifts work well as an alternative. Always verify with your surgeon or physical therapist before starting any new exercise program within the first year after joint replacement surgery.
Osteoporosis: This condition requires avoiding forward flexion, especially when combined with twisting. That means modifying or completely skipping Seated Forward Fold and being extra cautious with Seated Twists. Instead, emphasize extension-based movements like the cow portion of Cat-Cow. Focus on poses that strengthen the muscles supporting your spine rather than aggressively stretching it.
Chronic pain conditions: Fibromyalgia, chronic fatigue syndrome, and similar conditions often flare up with overexertion. Start with just five minutes of gentle movement. Feel decent the next day? Add two minutes the following week. This gradual approach prevents the boom-bust cycle where you overdo it on good days and suffer for three days afterward.
Author: Logan Brooks;
Source: thelifelongadventures.com
Common Mistakes That Reduce Effectiveness
Wrong chair selection: Office chairs with wheels create instability that forces you to spend energy maintaining balance rather than focusing on the actual poses. Chairs that are too high leave your feet dangling, which prevents proper grounding. Chairs that are too low create excessive knee bend. Take two minutes to find an appropriate chair—it dramatically improves every single pose.
Rushing through poses: Many people treat yoga like checking boxes on a to-do list, moving quickly from one pose to the next. The benefits accumulate during the holds, not during transitions. Only got ten minutes? Practice five poses well rather than racing through twelve poorly.
Ignoring pain signals: Yoga should create sensation—that feeling of muscles lengthening or working harder than usual. Sharp pain, particularly in joints, signals a problem. Dull aches that intensify during a pose rather than easing after a few breaths also indicate you're pushing too far. The "no pain, no gain" mentality has zero place in mobility yoga exercises.
Inconsistent practice: Practicing once for 90 minutes delivers less benefit than practicing 15 minutes six times per week. Your body adapts to regular stimulus through consistent exposure. Sporadic intense sessions just create soreness without building lasting flexibility or strength.
Holding your breath: When a pose feels challenging, most people unconsciously hold their breath. This triggers your stress response and defeats one of yoga's primary benefits—the parasympathetic nervous system activation that comes from steady breathing. Can't maintain steady breathing in a pose? Reduce your depth or duration until you can.
Comparing yourself to others: The person next to you in class might have different joint structure, different injury history, or three decades more practice. Your Seated Pigeon will look different from theirs, and that's exactly appropriate. Yoga for seniors particularly emphasizes working within your own body's current parameters rather than achieving some external standard of "correct" form.
Frequently Asked Questions About Chair Yoga
Can chair yoga actually improve flexibility if I haven't exercised in years?
Yes, but adjust your expectations about timing. Haven't moved much for a decade? Expect to practice consistently for 8-12 weeks before you notice significant changes. Your body improves flexibility as a protective adaptation to regular stretching, but that biological process takes time—there's no rushing it. Most people notice small improvements first—reaching a few inches farther than before, or turning their head with less restriction—within three to four weeks. Those small changes compound over months into substantial functional improvements
How often should I practice chair yoga to see results?
Four to five times weekly produces noticeable results for most people. Three times weekly maintains current flexibility without much improvement. Daily practice accelerates progress but increases injury risk if you're not allowing adequate recovery between sessions. Here's a practical approach: practice 15 minutes six days per week, with one complete rest day. On rest days, gentle walking or other light activity is fine—you're just giving your connective tissues a break from stretching stress.
Do I need a special chair, or will my office chair work?
Standard office chairs with wheels don't provide adequate stability. That's your only option? Lock the wheels if possible, or shove the chair against a wall. The ideal chair has four legs, a relatively flat seat without excessive padding, no armrests (they block side-to-side movement), and a height that allows you to plant your feet completely flat with thighs parallel to the floor. Kitchen chairs work perfectly. Dining room chairs? Great. Sturdy folding chairs? Also fine. Avoid anything that rocks, swivels, or rolls.
Is chair yoga effective for managing arthritis pain?
Research consistently demonstrates that appropriate movement helps manage arthritis symptoms better than rest alone. Chair yoga provides that movement in a controlled, low-impact format. The critical word is "appropriate"—you need to work within your current range of motion rather than forcing through pain. Many people with arthritis report reduced morning stiffness and improved joint function after several weeks of regular practice. However, it's not a cure, and you should absolutely continue any medications or treatments your rheumatologist recommends.
Can chair yoga help with balance and fall prevention?
Indirectly, yes. While you're seated during actual practice, the poses build core strength, improve proprioception (your body's awareness of where it is in space), and increase ankle mobility—all factors that contribute to better balance. The standing transitions at the beginning and end of practice also challenge your balance in a controlled, safe environment. Studies on yoga for seniors show reduced fall risk among regular practitioners, though these studies typically include some standing poses as well. Chair yoga alone won't replace balance-specific exercises like single-leg stands, but it provides a solid foundation.
What's the best time of day to practice seated yoga?
Your body is naturally stiffer first thing in the morning, which means you won't achieve the same range of motion you'd get in the afternoon or evening. However, morning practice helps establish consistency because fewer schedule conflicts arise early in the day. Evening practice allows for deeper stretches but might energize you too much right before bed—though some people find it relaxing. Here's the honest answer: the best time is whenever you'll actually do it consistently. Morning person? Practice then. Evenings work better for your schedule? That's perfectly fine. Consistency beats optimal timing every single time.
Chair yoga exercises provide a practical entry point to movement practice that adapts to your body rather than demanding your body adapt to some idealized standard. The poses outlined here form a complete foundation—you could practice just these twelve movements for six months and continue seeing steady improvements.
The real measure of success isn't touching your toes or achieving perfect alignment. It's whether you can reach the top shelf more easily than before. Whether your back feels better after long days. Whether you're moving through daily activities with less discomfort and more confidence. Those functional improvements often appear before you notice flexibility changes in the mirror.
Starting any new practice involves some uncertainty about whether you're doing it correctly. Trust that showing up consistently matters more than perfect execution on any single day. Your body will adapt to the stimulus you provide, and that adaptation builds over weeks and months into meaningful change. The chair simply makes that process accessible regardless of where you're starting from.
Runners get tight hip flexors, stubborn calves, and underactive glutes from thousands of repetitive strides. This guide shows the best yoga poses for common running issues, when to do dynamic vs recovery yoga, a 15-minute cooldown sequence, and how often to practice for mobility without overstretching.
Struggling with tight hips, hamstrings, or shoulders? This guide explains why yoga improves flexibility better than static stretching—by retraining your nervous system and building strength at end range. Learn 12 essential poses, follow 15/30/45-minute routines, and avoid the mistakes that stall progress.
New to yoga? This beginner guide explains the real, science-backed benefits, the only gear that matters, and how to choose classes or practice at home. Learn 10 foundational poses with form cues, then follow a 20-minute routine—plus common mistakes to avoid and the best styles for your goals.
Back pain is common—but yoga can reduce pain and improve function when done right. Learn why it works for acute vs chronic pain, 8 proven relief poses, how often to practice, mistakes that worsen symptoms, when to seek yoga therapy, and posture/core habits that protect your spine daily.
The content on this website is provided for general informational and educational purposes related to health, yoga, fitness, and overall wellness. It is not intended to replace professional medical advice, diagnosis, or treatment.
All information, workout suggestions, yoga practices, nutrition tips, and wellness guidance shared on this site are for general reference only. Individual health conditions, fitness levels, and medical needs vary, and results may differ from person to person. Always consult a qualified healthcare provider before starting any new exercise program, dietary plan, or wellness routine.
We are not responsible for any errors or omissions, or for any outcomes resulting from the use of information presented on this website. Your health and fitness decisions should always be made in consultation with appropriate medical and fitness professionals.